A to Z about the Right Caulk Removal Tool and Caulk Substitute
Caulking and re-caulking are old school practices still followed by many today. People use a sharp object as a...
Cleaning, repairing, maintaining, and restoring tile and grout is a very detailed process that requires a thorough procedure and exquisitely designed products. While some of you do the tile cleaning right, you often tend to make mistakes in restoring the grout. On the other hand, some of you do clean the tile and grout properly but forget to take steps to prevent further staining. To help you restore and protect your tile and grout in the right way, here we have shared the complete guide to restoring tile and grout. This is a detailed step-by-step process for tile and grout maintenance, following which you will never face issues with your surfaces.
To clean and restore tile grout, you need to follow a basic cleaning and maintaining procedure step by step. This procedure can be divided into cleaning, repairing, sealing, and maintaining.
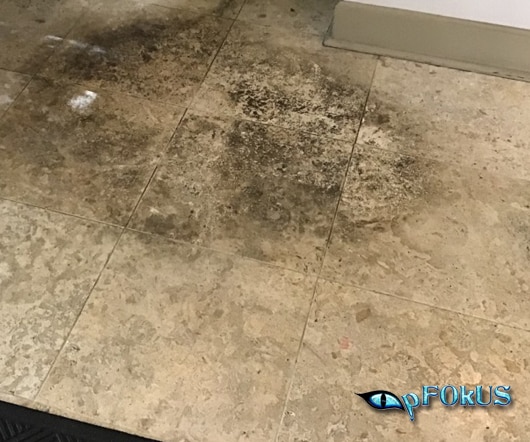
Cleaning is the first step in restoring tile and grout. Kitchen countertops are prone to oil spills and acidic spills leading to staining and etching on the surface. This eventually makes the surface look dull and lack lustre. Shower tile and grout also faces constant water splashes and soap scum accumulation. Those who get hard water in their taps, face hard water staining issues on their natural stone tile. To deep clean tile and grout in shower and other surfaces, one needs a deep-penetrating cleaner which eliminates these stains and mold at the root level, thereby sanitizing the surface thoroughly. Such a deep-soaking cleaner cleans the tile and grout at the same time.

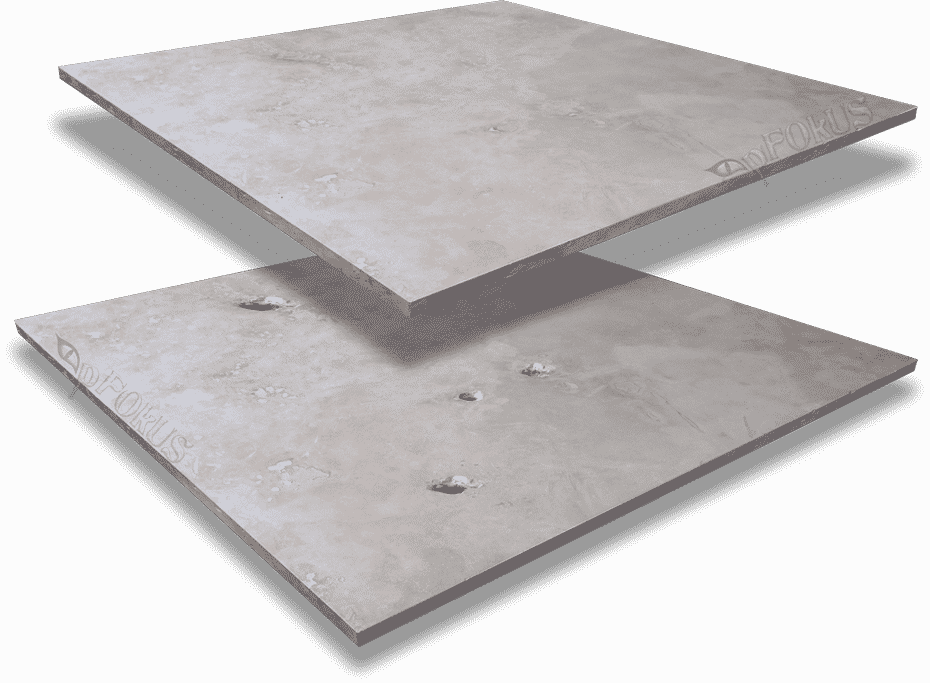
While restoring cracks and chips, you need to first check the cracks and missing spaces in the grout. Restoration is incomplete without repairing the missing or cracked grout. A good quality epoxy resin adhesive is used to repair cracks in grout. As this adhesive is non-porous, there is no problem of molding or staining.

To repair grout, you can use a powerful epoxy grout filler which fills in the voids. These can be color shaded to match with the tile color.
For repairing cracks in tile, use surface and delivers a natural look with its sleek appearance. New age epoxy resins can be pigmented in several options in order to match the color of the tile.
Just cleaning the surface cannot assure that mold and mildew will not breed again. You need to seal the grout to ensure complete cleanliness. Grout also tends to crack and miss at some joints. Most people resort to re-grouting for repairing missing or cracked grout. Grout sealing is best done by an epoxy/resin, which makes a waterproofed surface to prevent the grout from staining. You also get color grout sealants which can be matched to the tile color.

After sealing grout, you need to focus on sealing tile in shower and sealing stone countertops and flooring. After the surface has been cleaned and prepped with a good quality cleaner and cracked tile and grout repairs have been done, you should seal the entire surface with a solvent based topical sealer, which coats the entire tile and forms a protective barrier, thereby preventing further molding and staining. Sealing can also render a slight sheen on the surface.
After sealing, the last process is natural stone polishing. Once the sealant has shut the pores of the stone, you should polish the stone using a clear resin sealer to get that mirror like finish. This procedure locks in the brilliance and sheen of the stone forever and you will never have to bother about dulling or losing sheen from your marble stone again.
Natural stone care and maintenance is crucial once the surface has been restored. You need to use natural stone approved maintenance cleaners weekly once to remove the superficial dust, dirt and stains accumulating on the surface. Tile and grout care should be done with alkaline cleaners which remove the stains and reveal a sparkling surface below, without causing any harm.
Use a cleaner for maintaining floor tile and grout and countertops, which acts as a fresh cleaner and eliminates the superficial dirt and stains accumulated on the surface. This one can be used for weekly maintenance.
A shower approved cleaner for maintaining shower tile can be used on a weekly basis to make your maintenance jobs easier. These products are designed in such a way that they can withstand the moisture conditions prevalent in the shower.
Following a detailed technique for restoring floor tile and grout will give you everlasting results and your surfaces will sparkle with health and lustre for long. So do not ignore the hidden mold and dirty stains on your surfaces. Get rid of them immediately and reside in a ‘healthy’ place to ensure better health and better aesthetics.
Follow Us!