5 Essential Cleaning Products Every Home Needs
Having the right cleaning products at home makes your maintenance job easier and efficient. With the right tools and...
Water can creep into all the nooks and crannies of your bathroom floor even if you think you have sealed the area well. Sometimes, low-quality sealants wear off quickly, making your bathroom floor vulnerable to water penetration. The seeped in water results in heavy damage causing leakage, mold, mildew, stains, etching, rust and corrosion. But if your contractor is suggesting you renovate your entire bathroom, you’ve got to read this first. Here is a guide on how to fix a water damaged bathroom floor.
Even if you do not get hard water in your bathrooms, leakages can result in damage. Here is how to detect damage due to water on a bathroom floor.

If you get a musty odor when you enter your bathroom, there is a possibility that there is not enough ventilation inside. The dampness prevails on the floor and surfaces and there is no dry air circulation inside. This results in dampness and moisture being constantly present on the floors. If the sealant has worn off from any place on the tile, walls or grout, moisture penetrates inside the pores of the tile and grout as well. This stagnant water reeks of an old or musty odor when you enter your bathrooms.
Moisture attracts mold formation. Mold and mildew are quick to spread in damp places. If you find mold and mildew on your shower tile, walls or bathroom floors, you should know that your surfaces are constantly damp. You need to not only clean the mold, but also seal the surfaces again and allow proper ventilation.
If any of your tap fittings or pipelines appear greenish or rusted, then these could be due to hard water and subsequent mineral deposits on the tap fittings. If you ignore this, the taps and fittings could eventually rust and break.
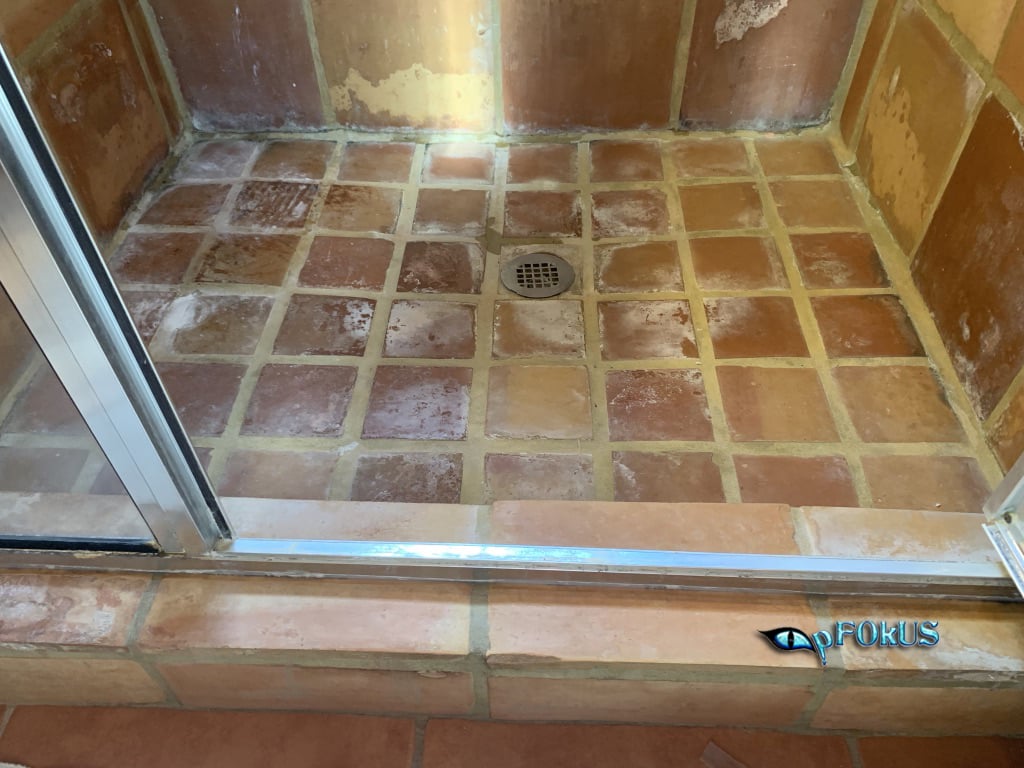
If you get hard water from your taps, then the whitish and rough patches on your floor tile and counters are due to the deposits of calcium and minerals present in hard water. When the water evaporates, these deposits are left behind. These salts deposit on the tiles and make the surface appear whitish and rough.
This is an obvious sign of water damage that should not be ignored. Not only is water being wasted, but the collecting water on the floor creates a rough patch or etching that spoils the appearance of your shower floors. The etch marks also make the surface rough and are more prone to dust and dirt collection.
If your shower caulk has peeled, cracked or deteriorated, it will not prevent water from seeping inside. If you find your caulk dirty or stained, there is a possibility that it has cracked and mold breeding has started in its gaps.
This could be due to the incorrect inclination of the shower tile towards the drain. This results in constant water accumulation on the floor. The floor should be able to self-drain the water towards the drain. If not, water will always be present on the floor, leading to hard water stains, etch marks and mold breeding.
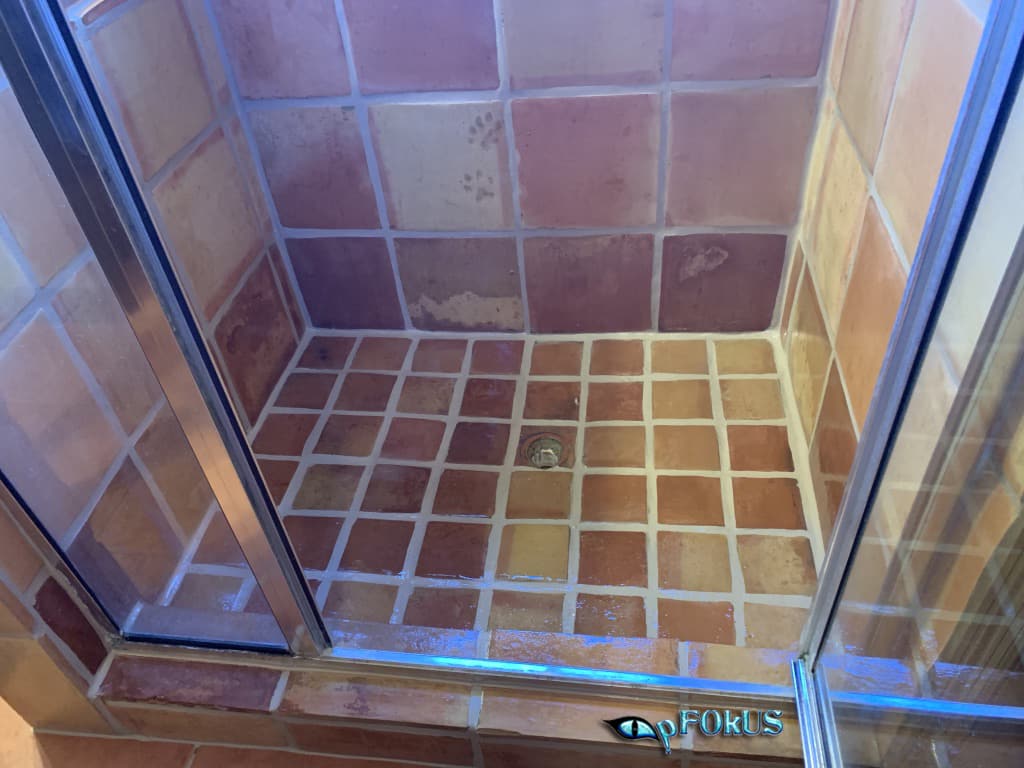
If you have installed glass shower doors in your showers that leak and result in a pool of water below them, then this too can result in a damaged shower floor. The water collecting below, if hard, can result in etching and whitish deposits, and, if soft, can still result in etching.
Efflorescence occurs when water seeps in through the grout or corners of the tile underneath. The water going underneath mixes with the minerals and cement underneath and then travels again to the top, mostly through the drain. This is efflorescence that may clog your drain or ruin your shower tile and grout.
All these are obvious water damage signs on a shower floor. To fix these problems, here are the solutions.

You need to use a deep-penetrative tile and grout cleaner to clean the stains, mold and mildew from the root. You also need to clean the walls, counters and glass doors because the mold and mildew breeding there can again spread on a clean shower floor. So, thorough sanitization of the entire shower along with the shower heads and tap fittings needs to be done first. Also, clean the tap fittings and shower heads to remove the salt deposits.
Do not try to scrape away efflorescence with a sharp tool. Use proper efflorescence removers to clean the deposits and ensure that there is no more efflorescence left. But presence of these deposits means that there is a leakage somewhere in your grout lines or tiles that needs to be sealed.
If you find any cracks in your shower tile or grout, fix them with adhesives to get a uniform-looking wall and shower floor. If you ignore the cracks, water accumulates inside, leading to mold and mildew occurrence.
If your shower caulk has worn off, you should replace it with a better adhesive instead of re-caulking. Caulk only gives temporary results. It is better to use an epoxy/resin adhesive to seal the shower corners. This will prevent water leakage from the corners.
This is an important step because most people only seal tile, leaving the grout. The moisture present in the porous grout invites mold breeding, which again spreads on the entire tile. Ensure that you use an epoxy/resin grout sealant to seal the grout. Such sealants waterproof your grout and prevent any kind of moisture absorption therein, thereby arresting mold and mildew growth.
After sealing grout, you need to seal the shower tile. It is best to use a clear resin sealant to waterproof the entire shower tile. This will prevent any water damage on your porous tiles. The sealants create a hydrophilic layer on the tile, making water sheet off from the surface.

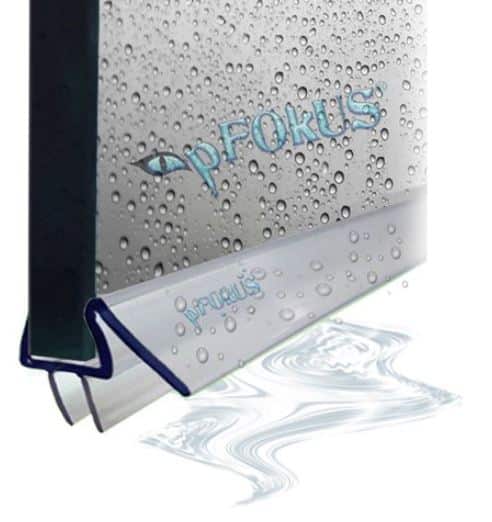
Next, fix the leakages from shower doors by using sweeps, seals or thresholds. Ascertain which door enclosure will shut the gap and prevent water leaking outside of the shower door. If your shower taps or shower heads are leaking, get them repaired by a plumber to prevent leakage.
If your shower floor is not properly inclined towards the drain, you can either get it reconstructed properly, or make it a point to mop the water after every use. This will prevent water accumulation on the shower floor. Also, ensure that your bathroom is well-ventilated to allow dry air to circulate inside.
All these solutions will together fix a water damaged bathroom floor. You should use the best products to fix these problems if you want an everlasting solution to water damage. You can try using products from pFOkUS – a leading restoration products manufacturing company in the US.