Sentura 2 part epoxy/resin.
Mixing directions.
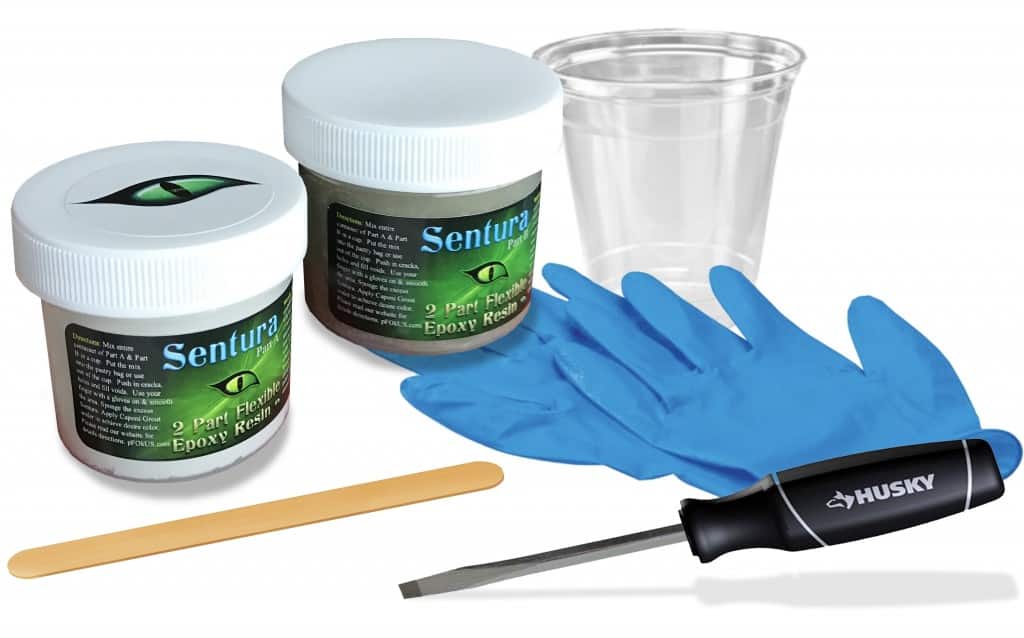
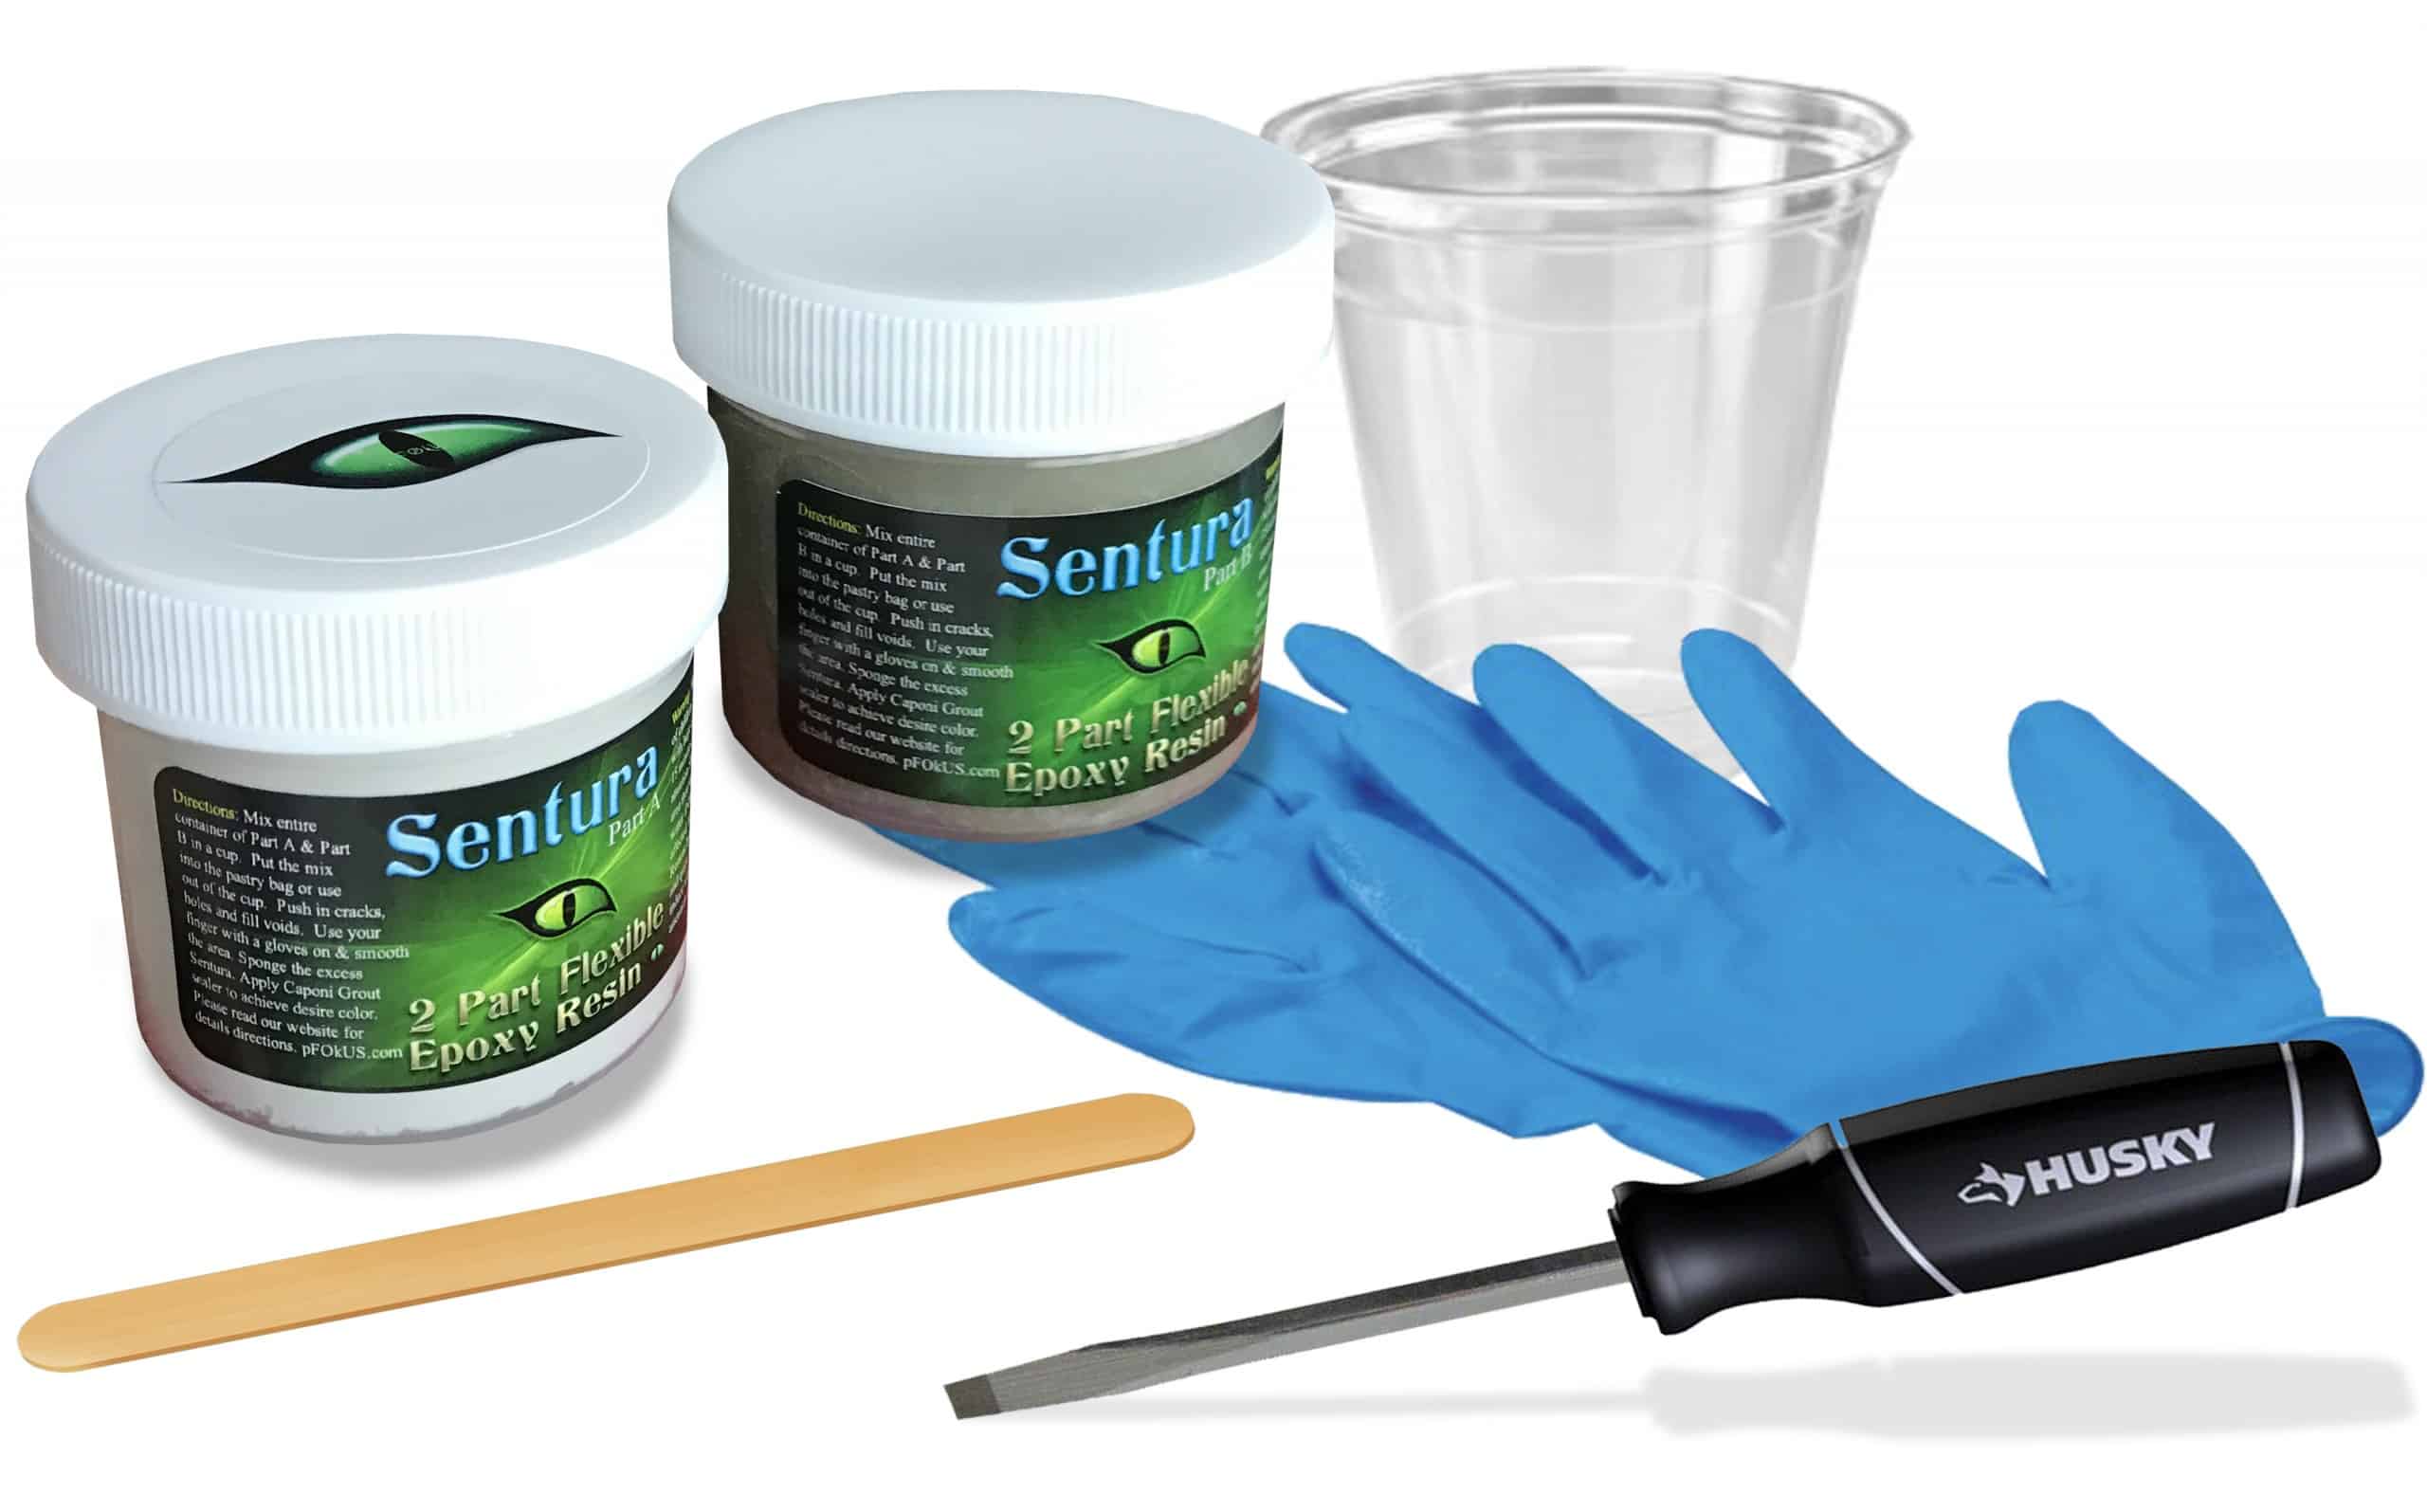
SENTURA is a 100% solids, two component, non-sag, with excellent adhesion, physical properties, and ease of use. To blend Sentura you will need a few tools. The Sentura kit provides you with – Sentura part A and part B, wooden stick for mixing and an applicator bag. You will need a screw driver, mixing cup, gloves and Alco for clean-up and thinning.
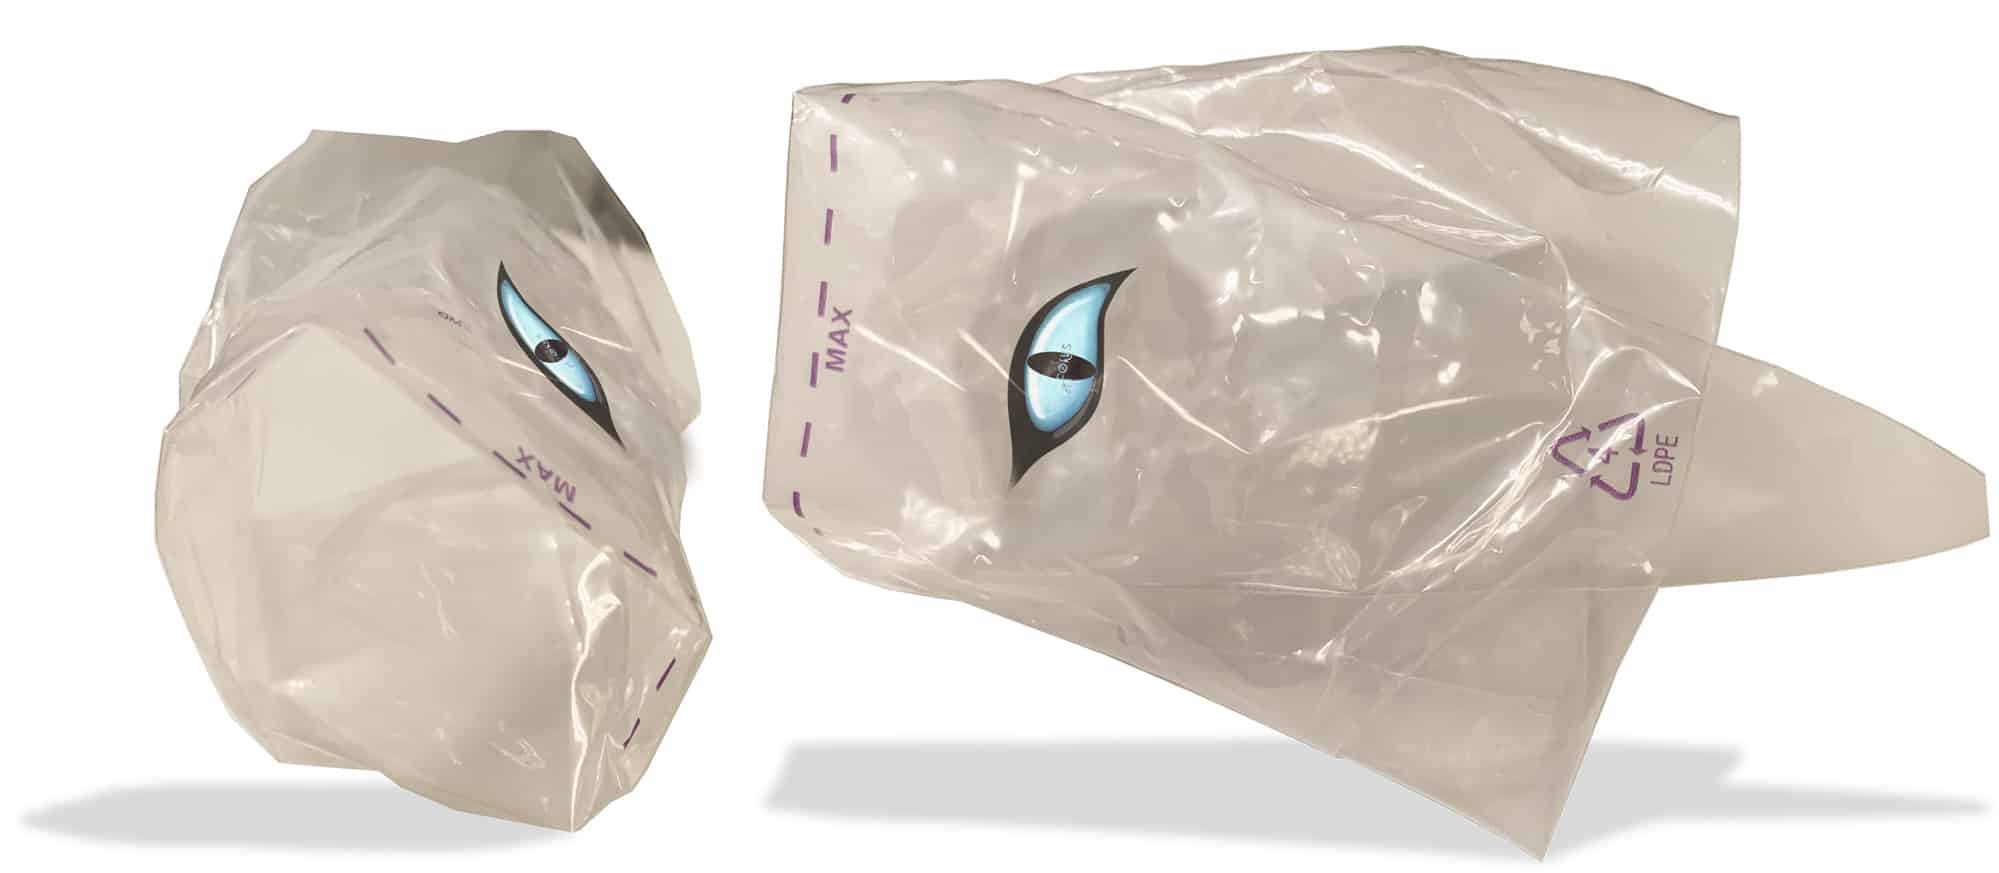
Trim the applicator bag.
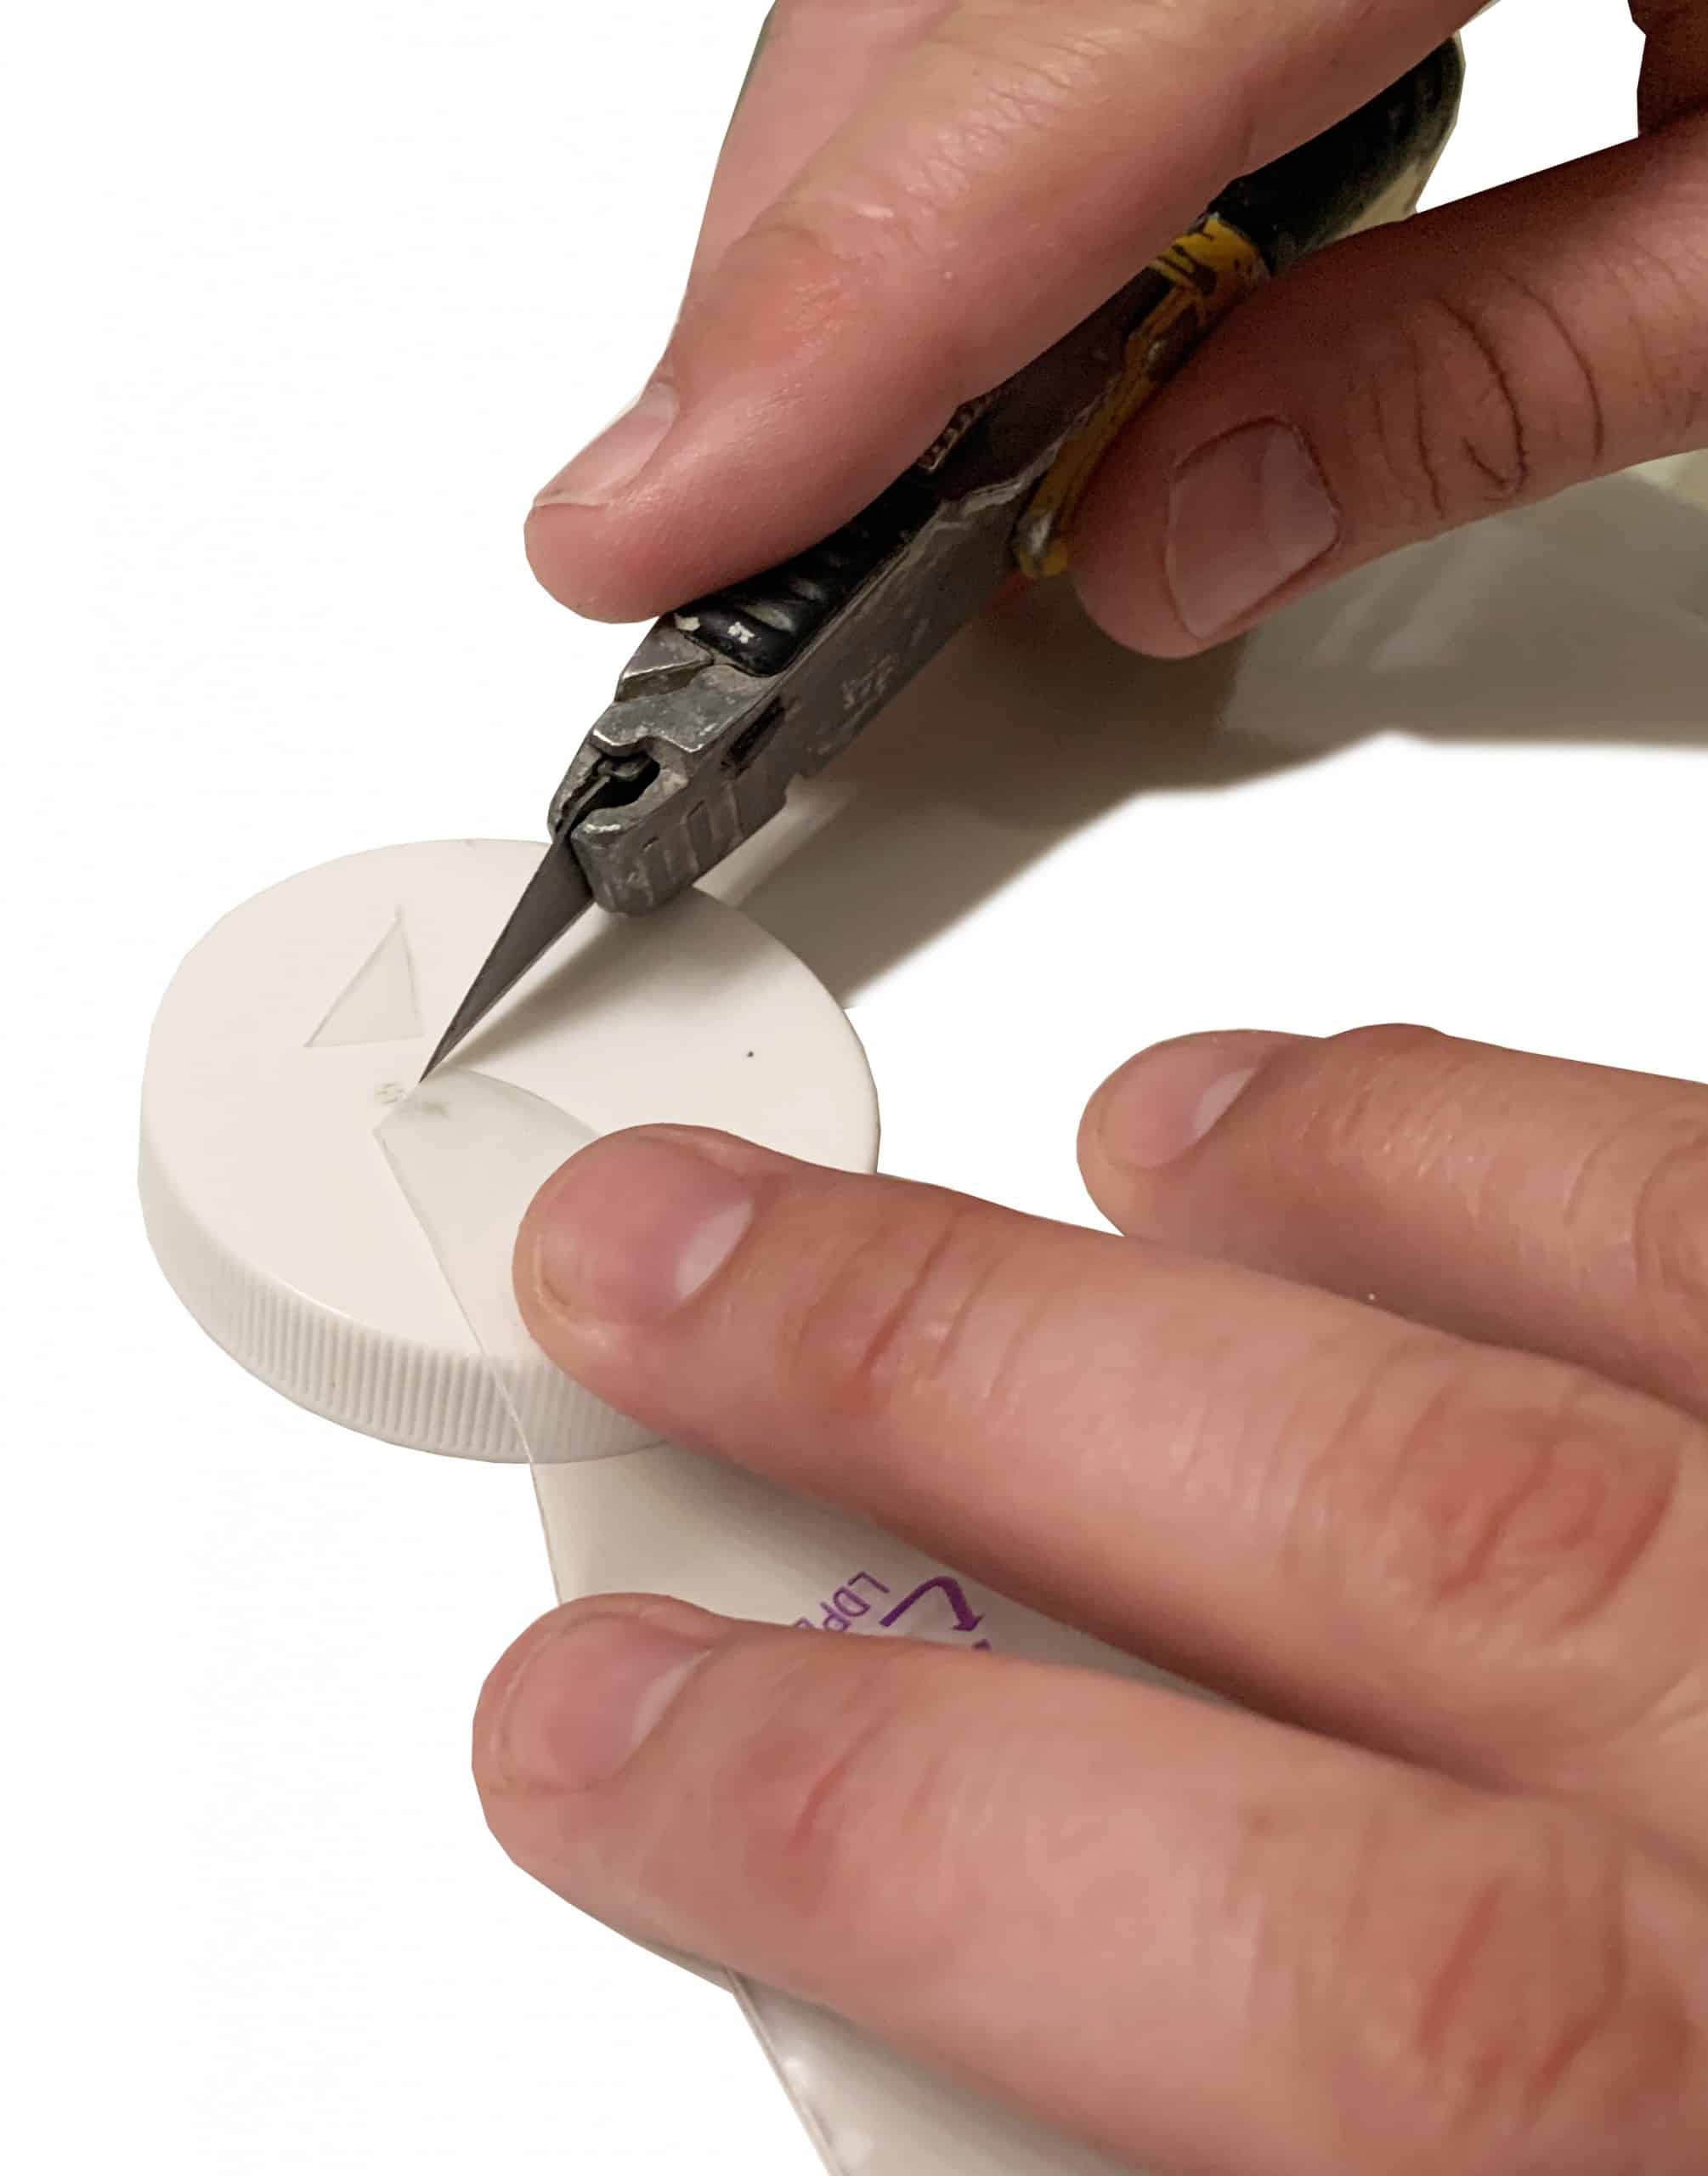
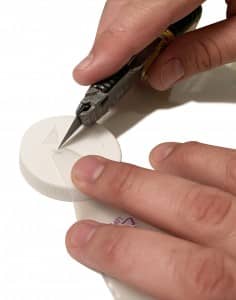
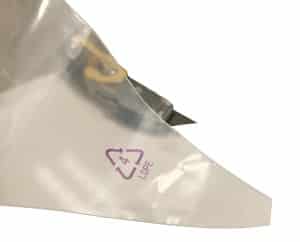
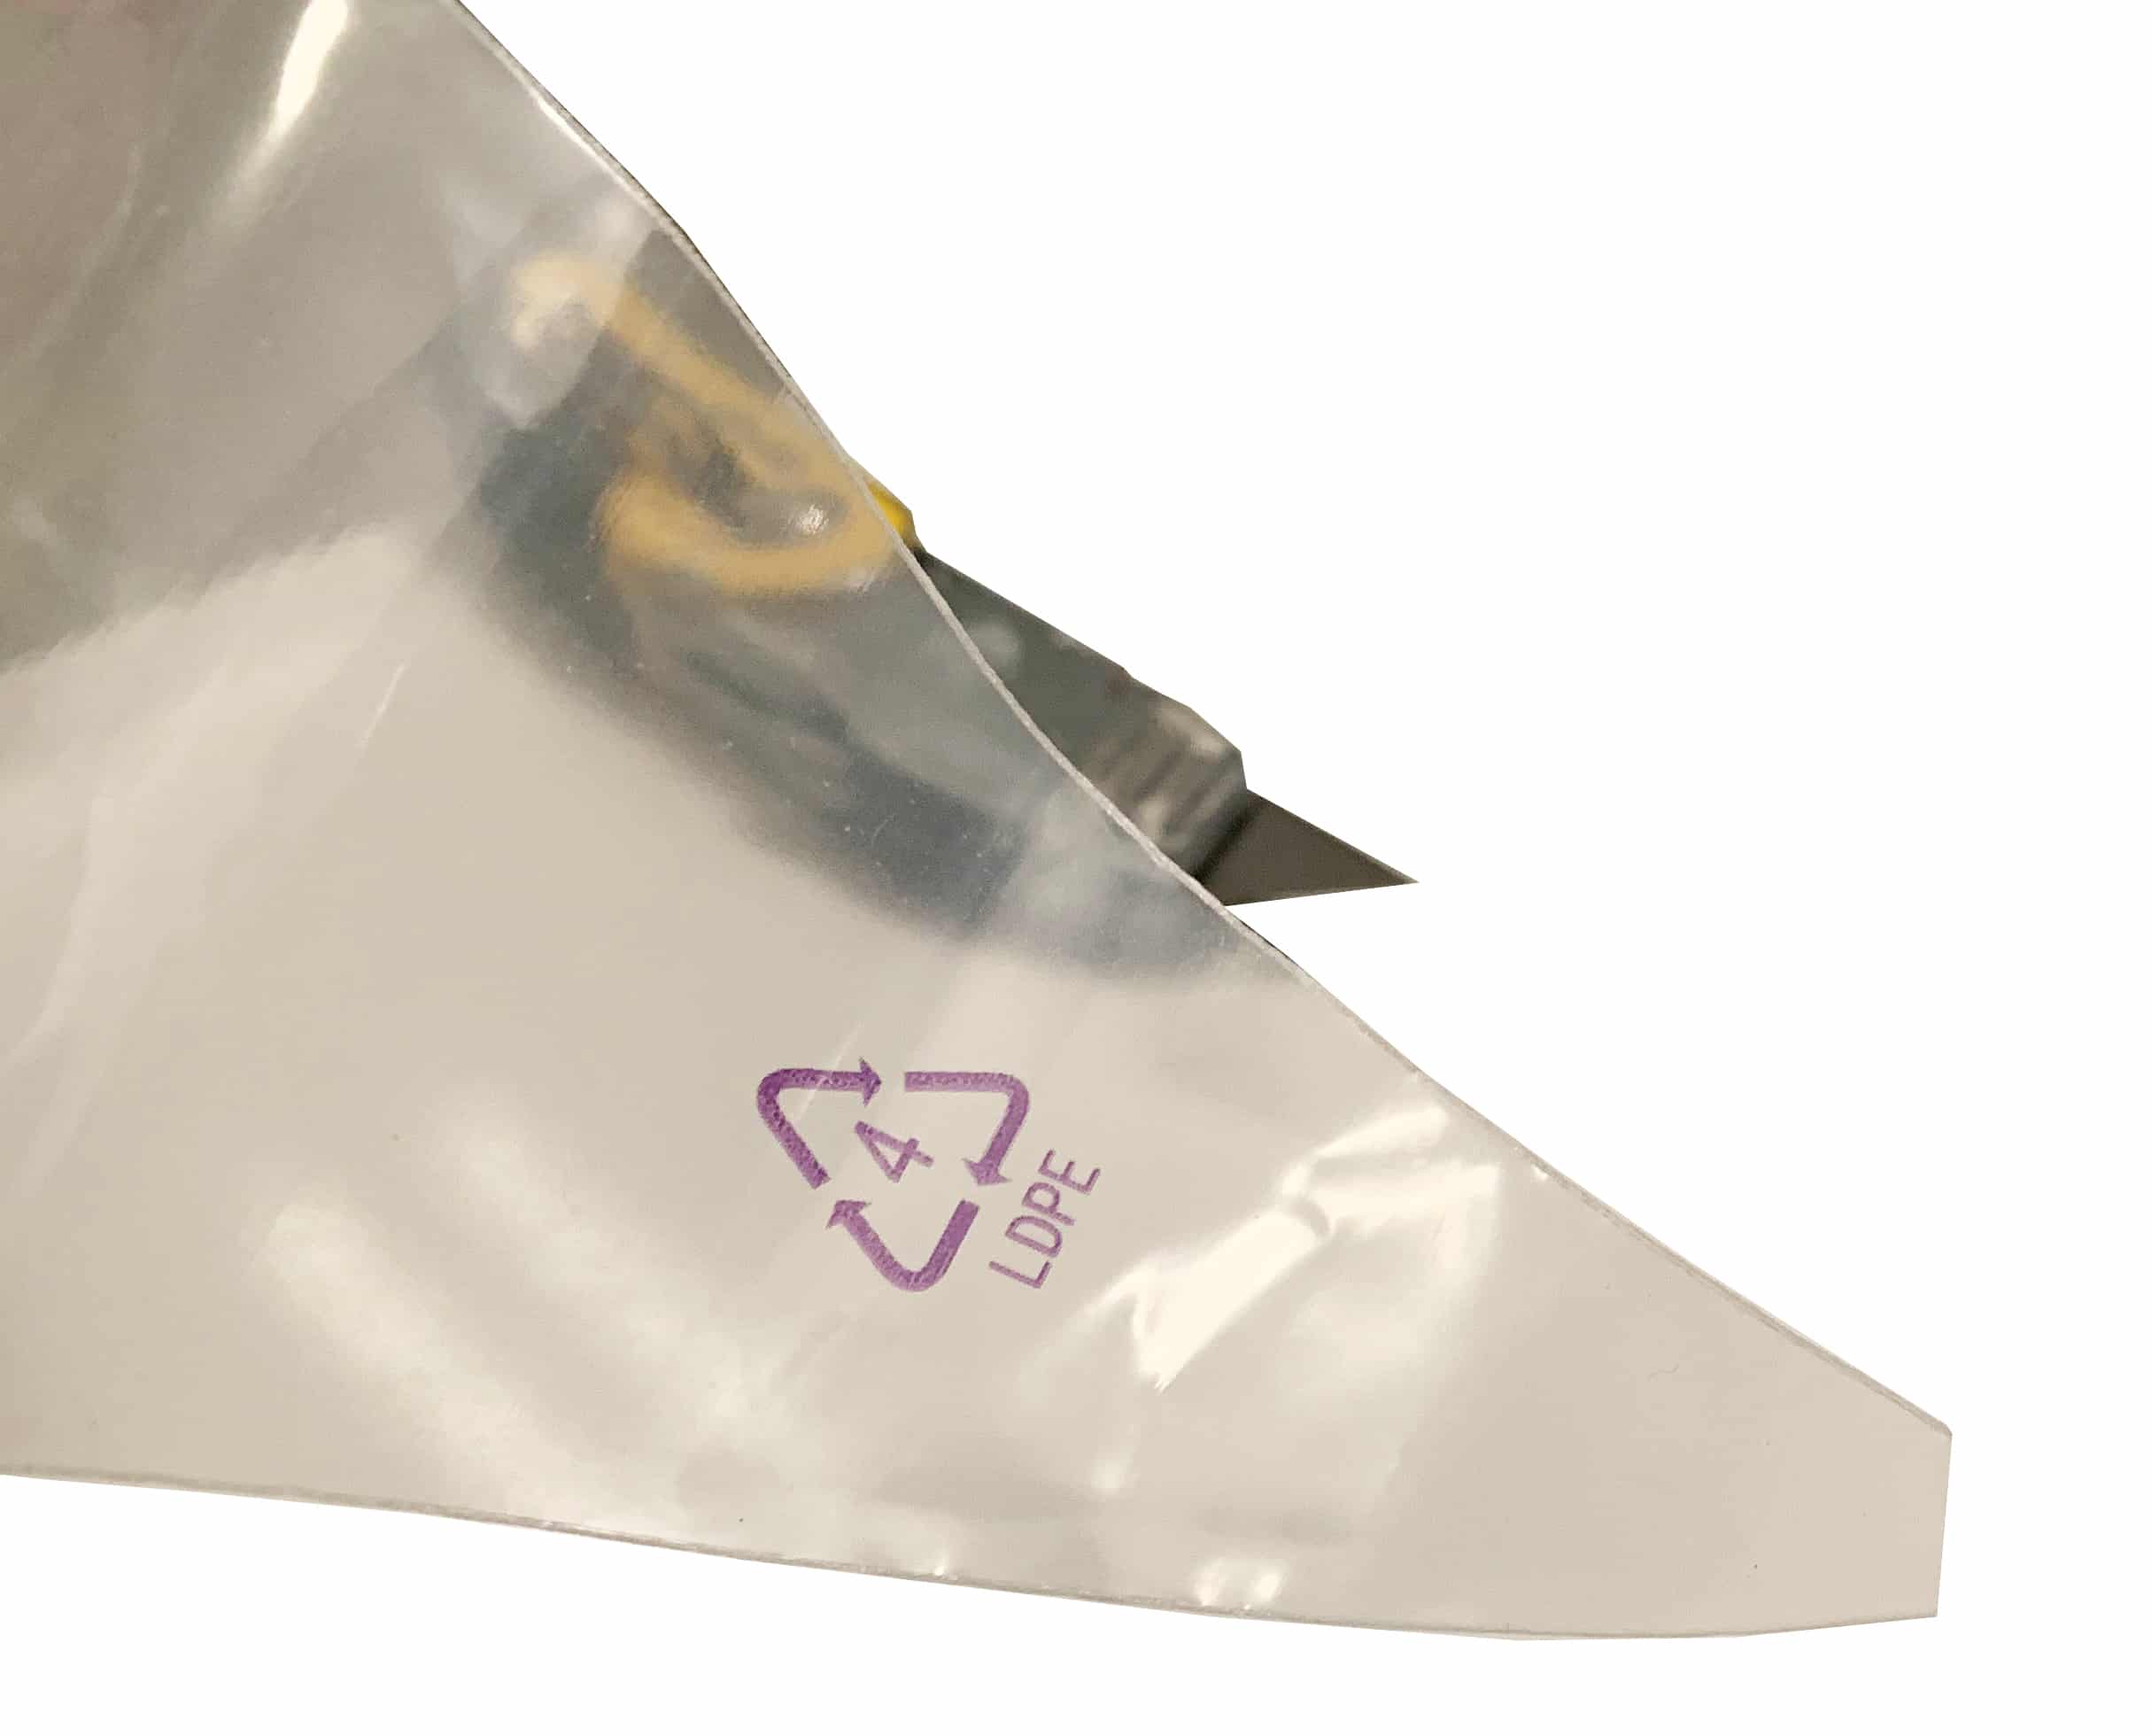
The applicator bag needs to be cut to allow the Sentura to flow through the bag once Sentura has been mixed together. The tip is one of the most important parts of an easy application. If the bag is cut too large, product would be wasted. Always cut the bag very similar to the size we cut in the pictures provided.
Buy Sentura >
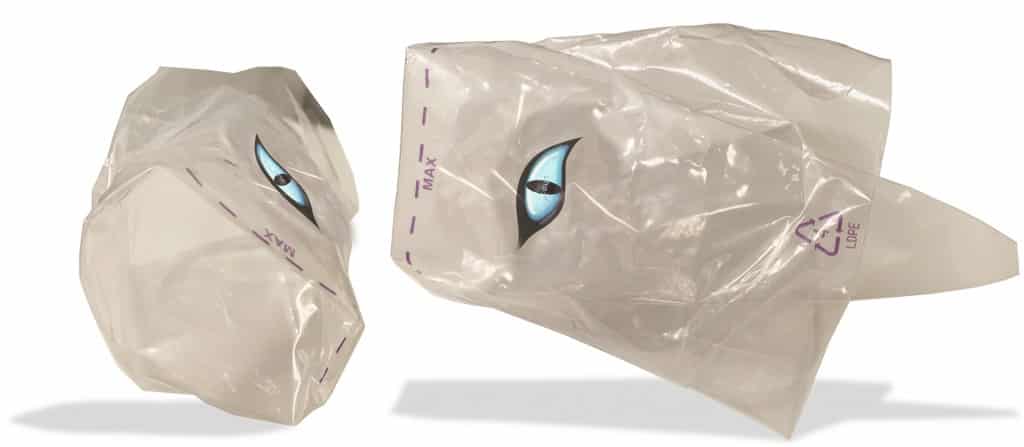
Folding the applicator bag.
Its always better to fold your applicator bag over itself before mixing. Simply take the opening and fold it over the bag so its easy to place the Sentura into the applicator.
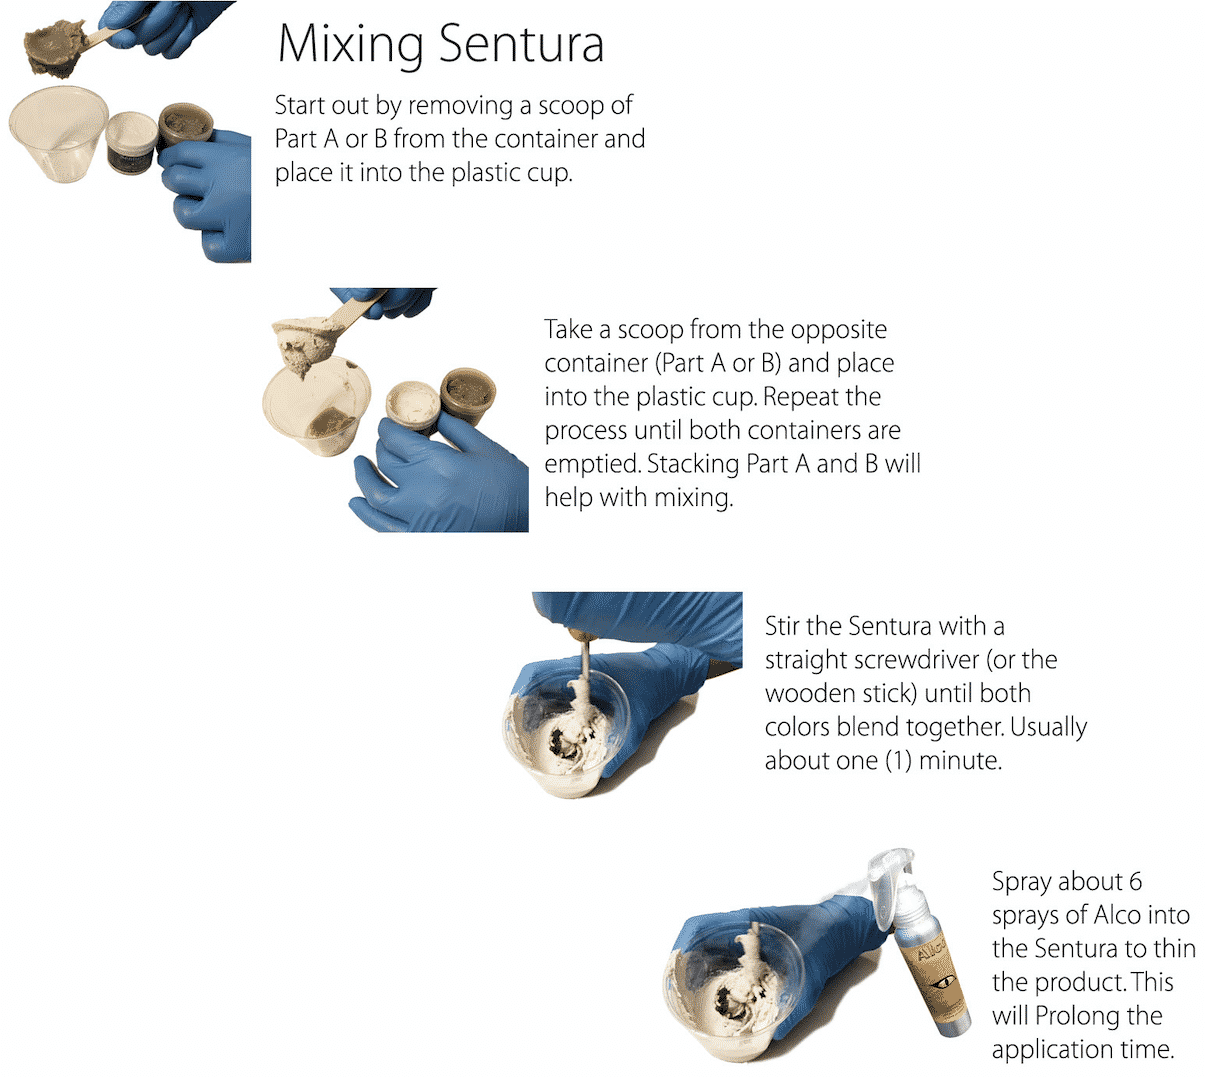
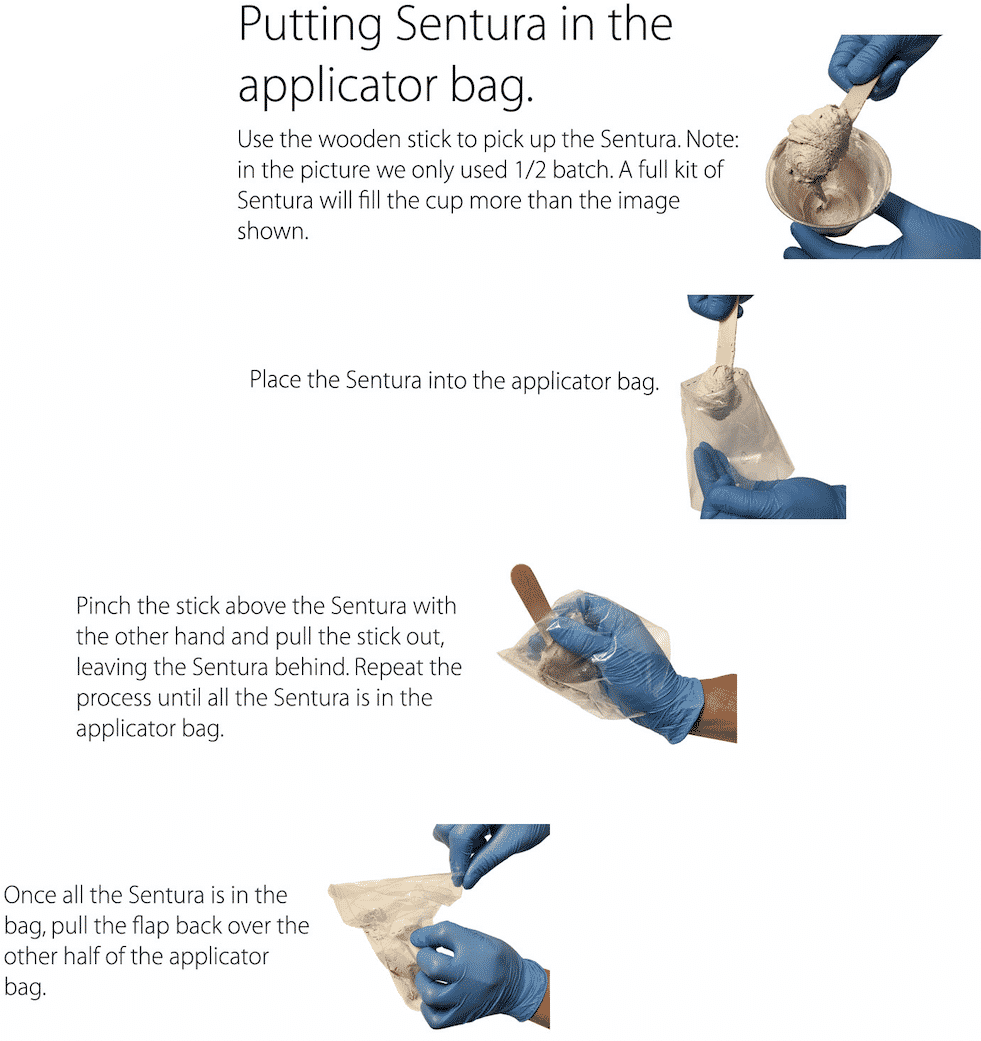
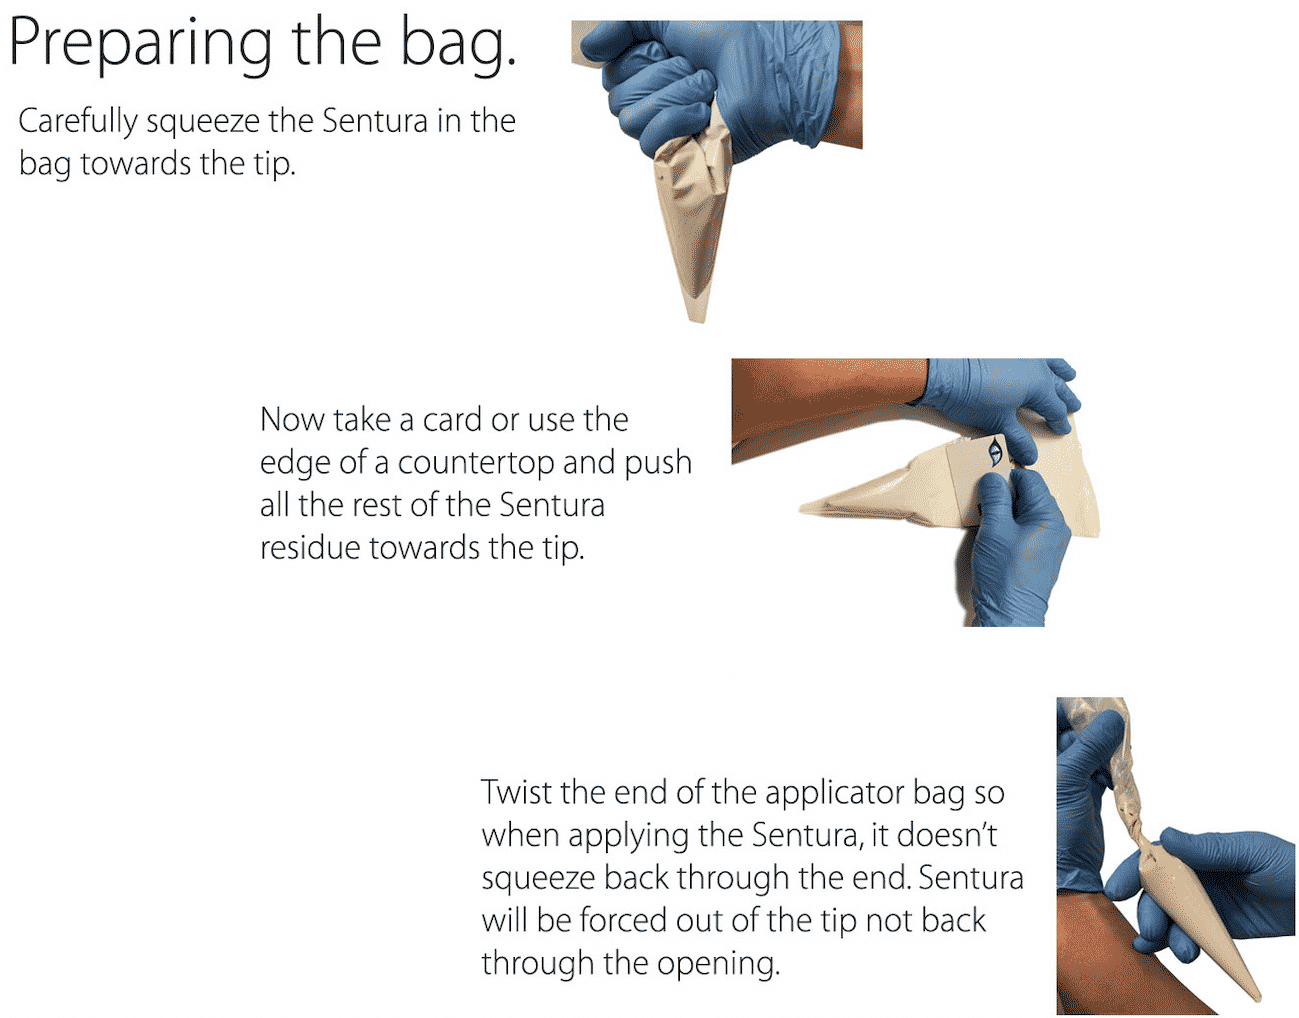

It’s time to apply.
And there is only so much time.
Sentura is a 2 part epoxy/resin that catalyzes within a certain amount of time depending on the room temperature. The link below will show all the specs and drying times.
Drying times >
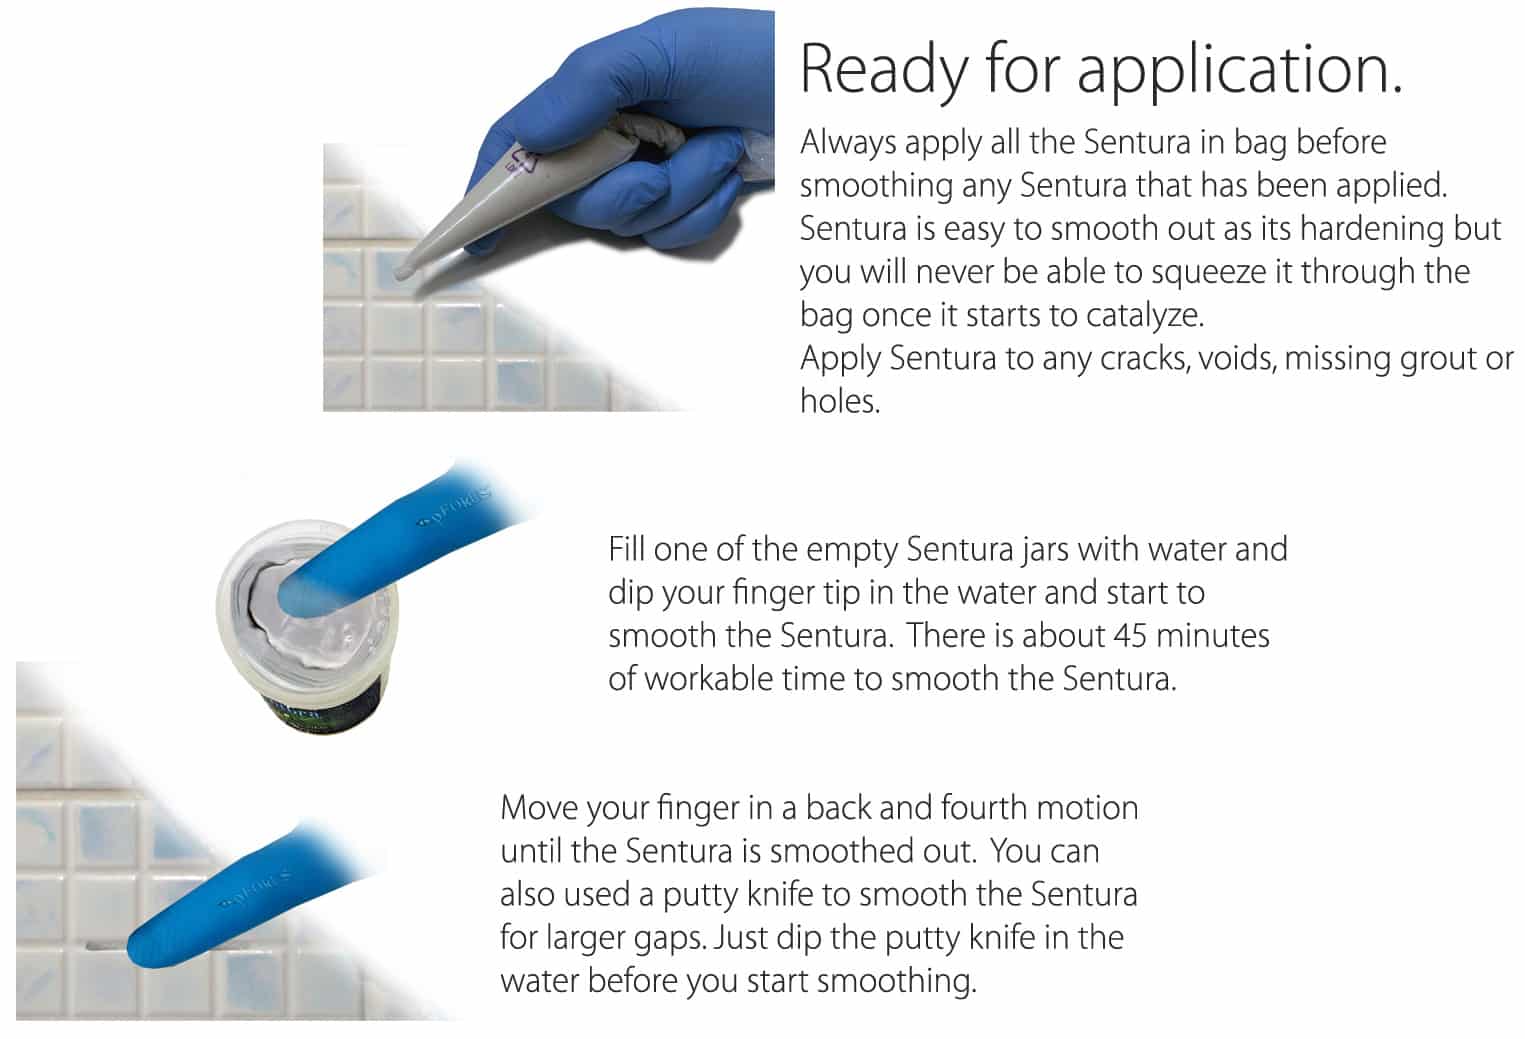
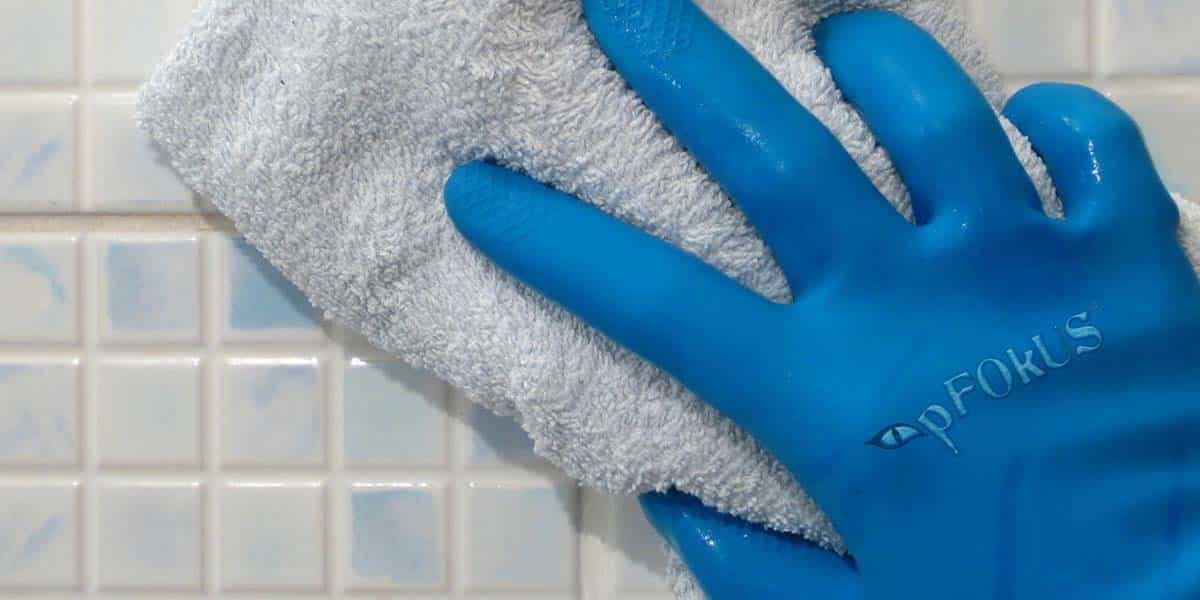
Use a wet towel and wipe the Sentura haze from the surface. This haze will be easily wiped clean while the Sentura is wet but once it catalyzes the residue will be very difficult to remove depending on the surface. Sentura may yellow a little overtime so it’s highly recommended to add Caponi over the Sentura. Caponi comes in over 40 colors and can be applied to Sentura with in 2 hours.
Caponi color seal >



Follow Us!