The Complete Guide to Flagstone Tile Care and Maintenance | pFOkUS
Flagstone is a common choice for homes and commercial complexes’ patios. This stone looks great in any outdoor living...
Caulking and re-caulking are old school practices still followed by many today. People use a sharp object as a caulk removal tool to remove their old and damaged caulk and then replace it again with a new caulk. This new caulk stays put only for a few months, after which it gets damaged. This gets you into a continuous loop wasting precious money and time. Furthermore, the wrong caulk removal tool can cause scratches in your tile and grout too. In this blog, we shall guide you to using the right tool for caulk removal and using an amazing caulk substitute.
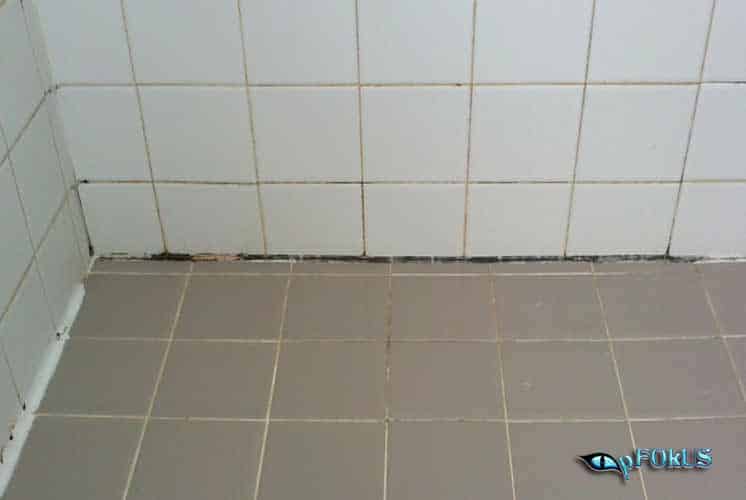
Caulking is the process of applying a water-resistant material on the edges and corners of shower tile to prevent water to seep below or to prevent water clogging at the corners. The sole purpose of caulking is to make the corners water-proof and thereby discourage mold growth. The most common types of caulk used are silicone or acrylic. This sounds like an easy solution to seal gaps and edges in a shower. But, sadly, caulking does not give permanent solutions. While we will explain more about our better caulk substitute as a permanent solution to caulking, we would like to answer some commonly asked questions regarding caulking.
Caulk is best used to fill a gap of around ¼ inches. For areas bigger than this space, some people first put a bead of caulk at the deeper end and then put another bead of caulk on top to seal it.
Yes, it is recommended to fill a bathtub with water before caulking. It is best to fill it halfway with water. Doing so will put the tub walls in a ‘central’ position, and allow the caulking to dry and cure at this point. This procedure will also deter the tub walls and caulking from flexing too much.
The most common way of removing dried caulk off your hands is by rubbing some butter or oil in your hands, until the caulk loosens and comes off. You can then rub some baking soda in your hands and rinse off.
But, unless you plan to stick to caulking and not try out our revolutionary caulk substitute, you will not need to fill your tub with water anymore or get dried caulk on your hands. We will explain in depth how useful caulking is. Here we have listed the common caulking problems.
Caulking fails are common knowledge, but what is uncommon is that you have a better product today to seal your shower corners. This amazing caulk substitute has changed the way shower corner sealing is done. But, before we explain more about our caulk substitute, let us first read more about caulk removal.
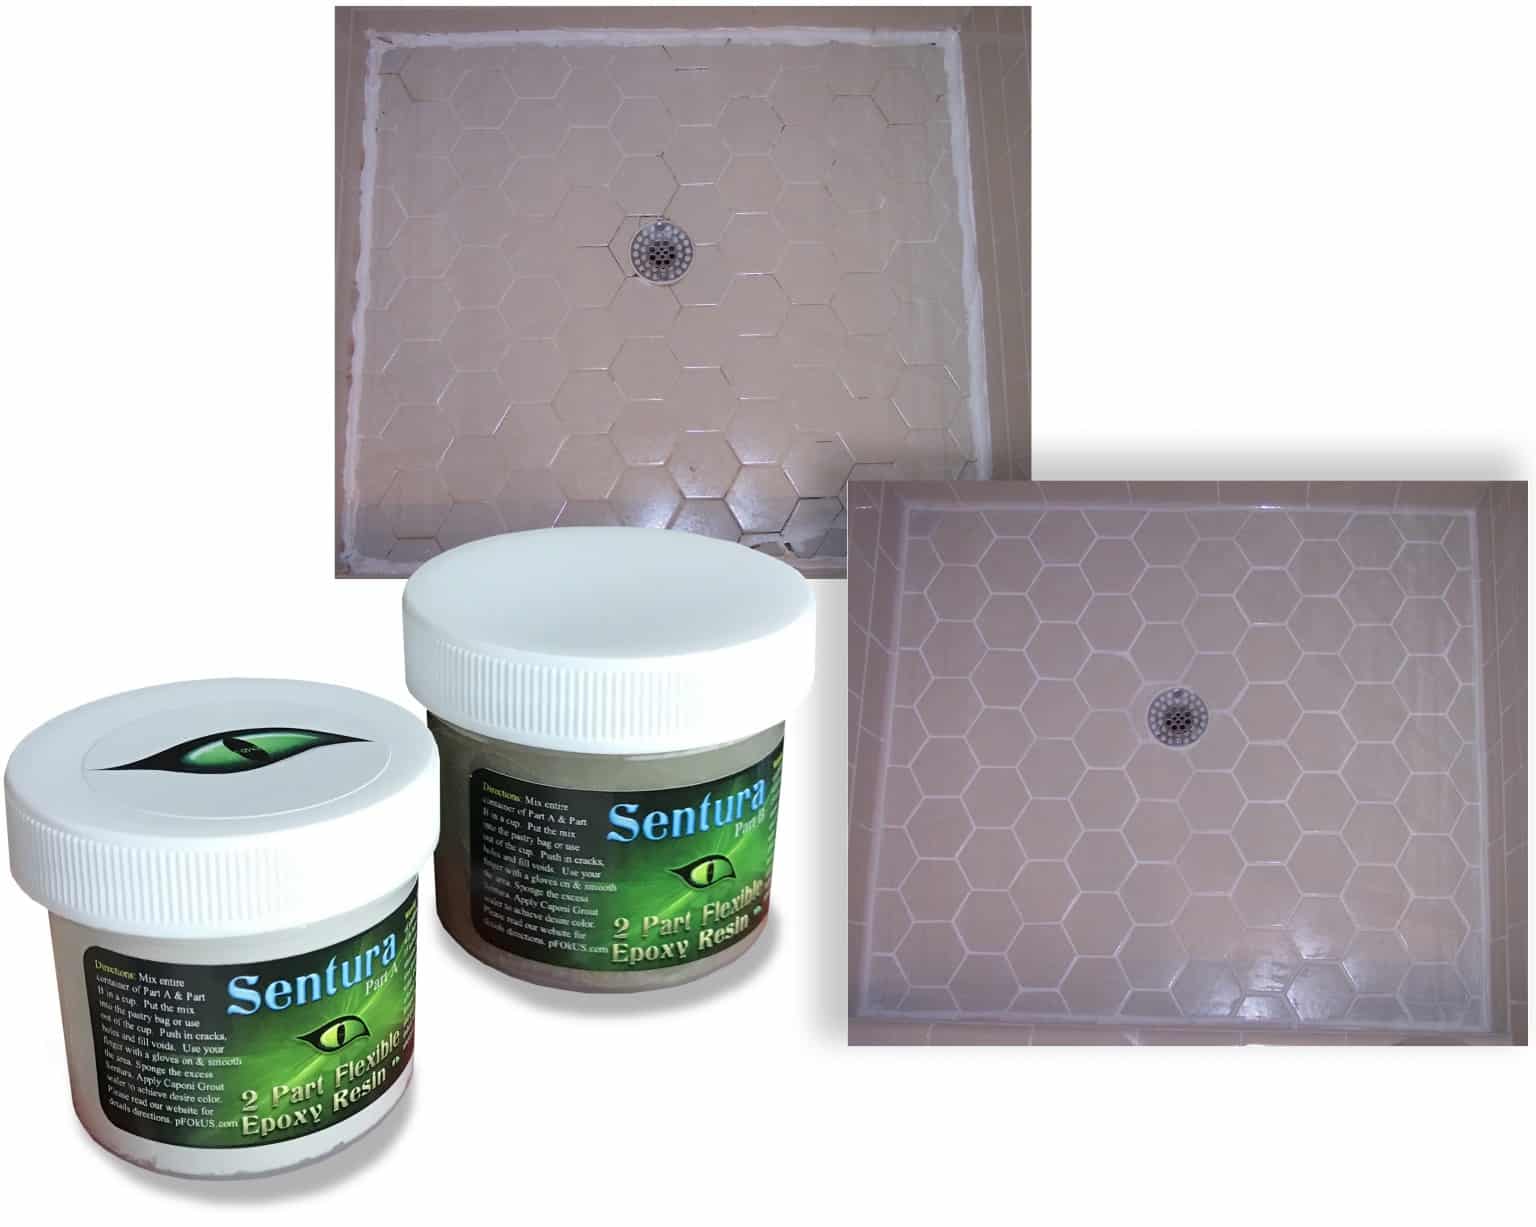
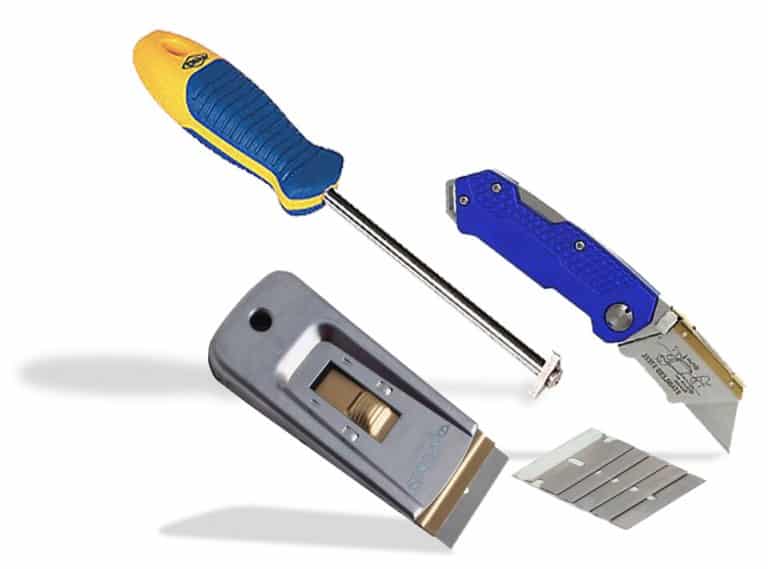
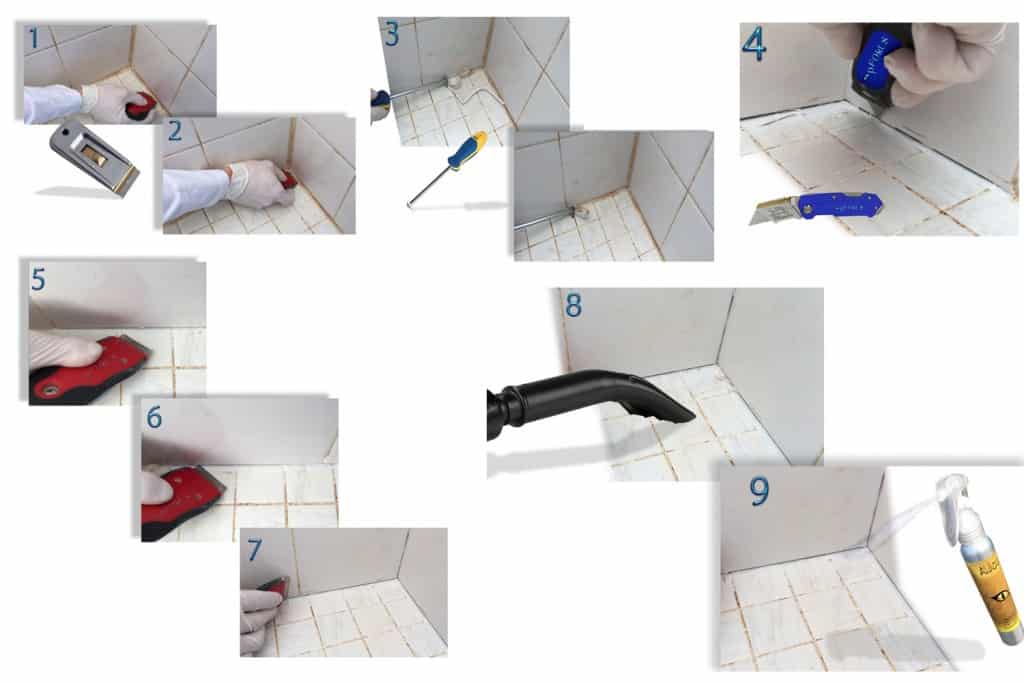
If you are looking for a caulk removal tool to remove caulking, you should follow a step-by-step procedure using the right products, before you begin with any sharp tool in your hand. Any wrong tool or wrong move can damage your tile and cause scratches. Here is everything you need to know about caulk removal.
You cannot soften caulk for removal. An old damaged and dirty caulk has to be removed with the right arsenal with a lot of patience, as any wrong move can damage your costly tile.
You need a proper arsenal and tools to remove old caulk. After that, you will have to sanitize and clean the surface before you apply our caulk substitute. Here we have explained a step-by-step procedure for caulk removal and applying caulk substitute.
Before we begin using this, we will first explain more about our Caulk Substitute – Sentura, and why it is different from regular caulk.
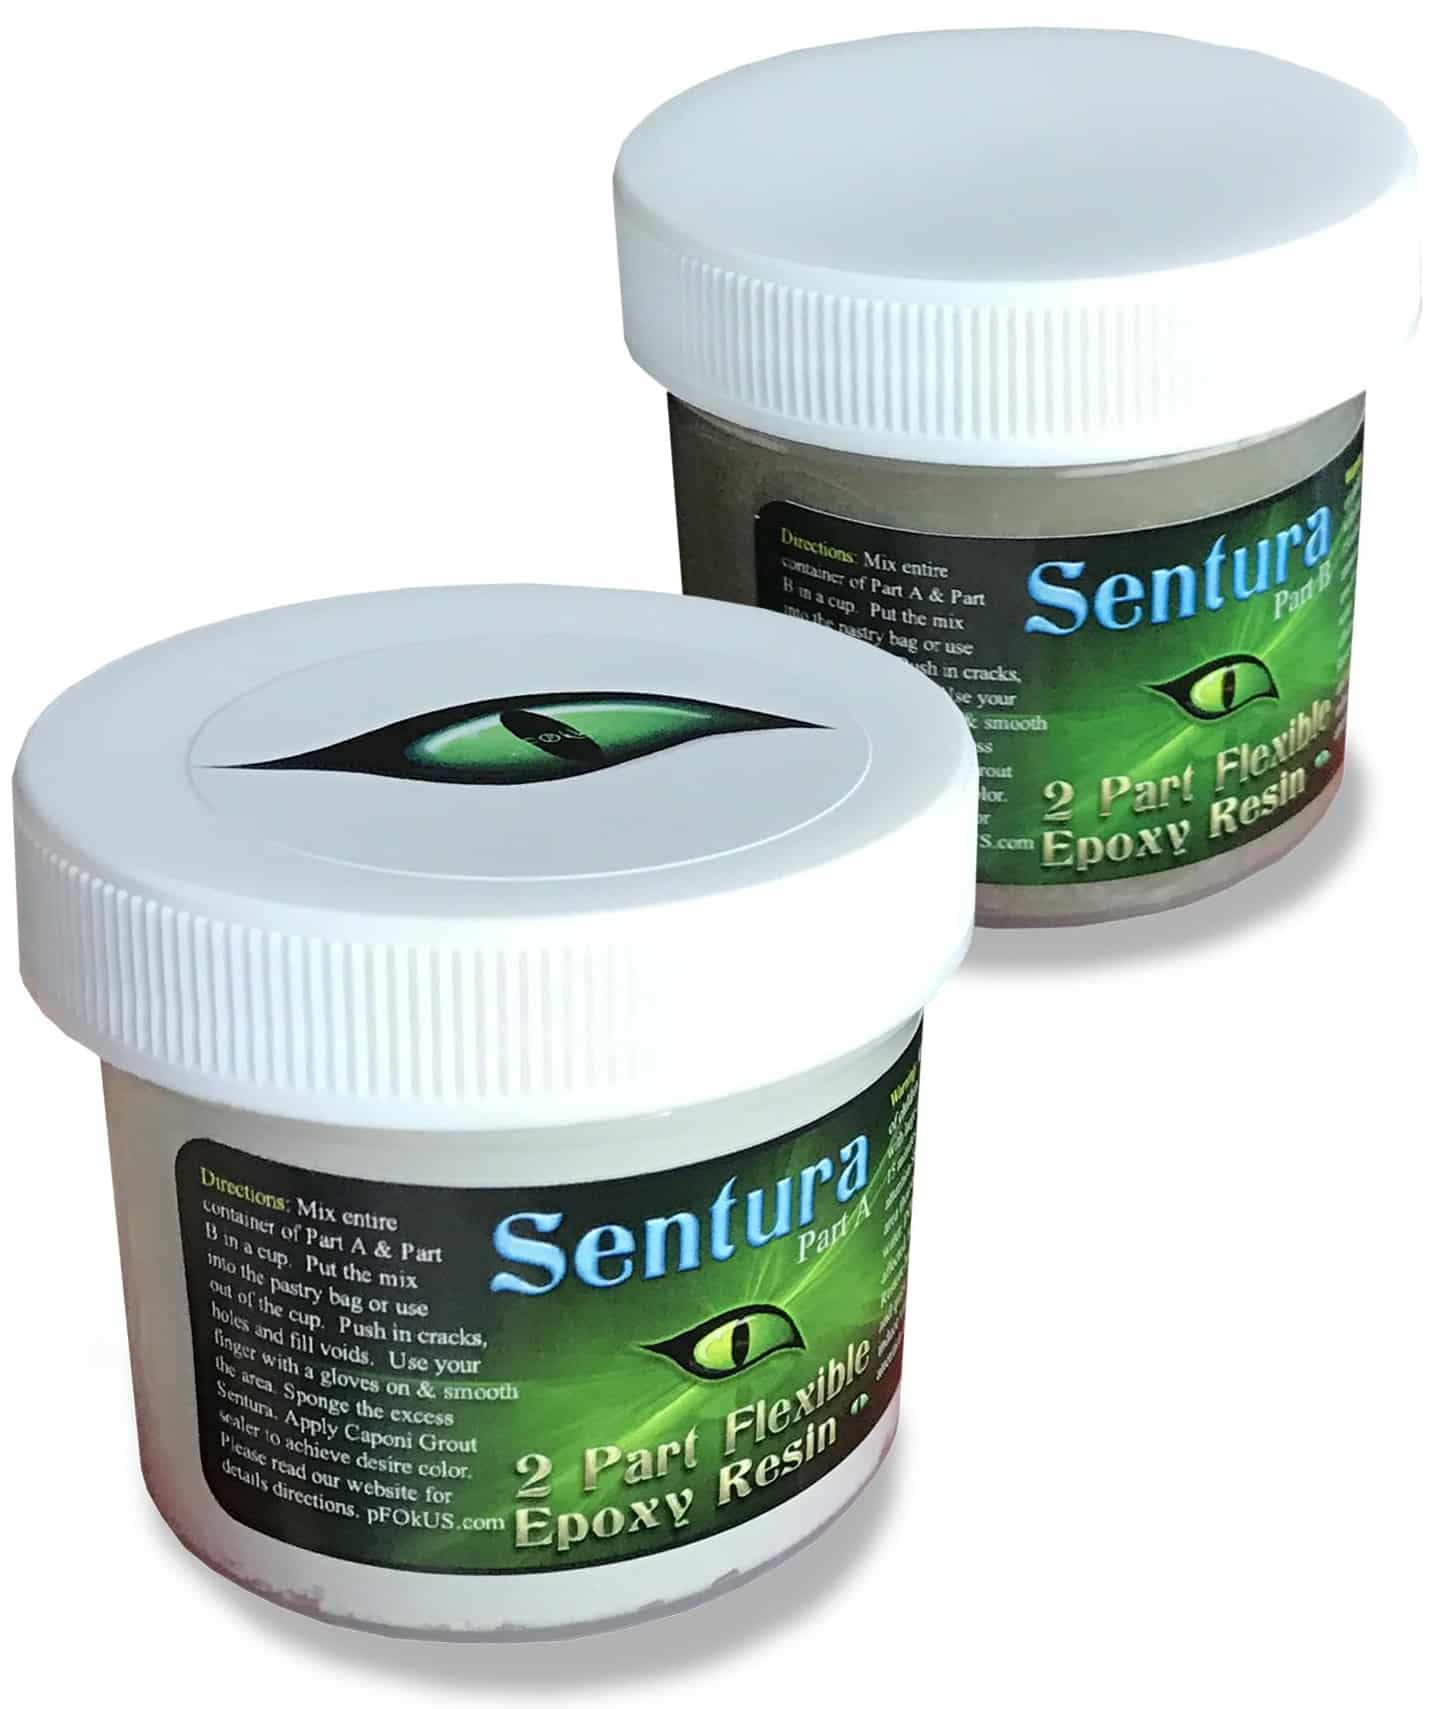
Manufactured by pFOkUS, Sentura is our incredible caulk substitute product that has totally replaced the need for caulking. It is a two part pigmented flexible solvent based epoxy/resin, based on a 1200psi adhesion, which ensures that it never pops out from the surface. Our epoxy grout sealer forms a permanent seal on the tile corners, thereby discouraging bacterial growth and stains. It never cracks if the temperature is dry inside the shower, like caulk does. Sentura can be pigmented in over 40 colors to make the shower area look very natural. It can also be used for repairing cracks in grout and tile.
Collect the Right Caulk Removal Tool:

$29.95
Here is how you can use Sentura to seal your shower corners. You will get a few containers and an applicator bag in our Sentural kit.
After applying Sentura, it is quite natural to have some excess build-up on the sides. You cannot clean this extra build-up with water and you will need to use Alco – paint thinner to clean the extra and get a clean look.
This is the complete guide to using the right caulk removal tool and caulk substitute – Sentura for your shower corners. Follow the instructions given and keep up the beauty and hygiene of your showers.